
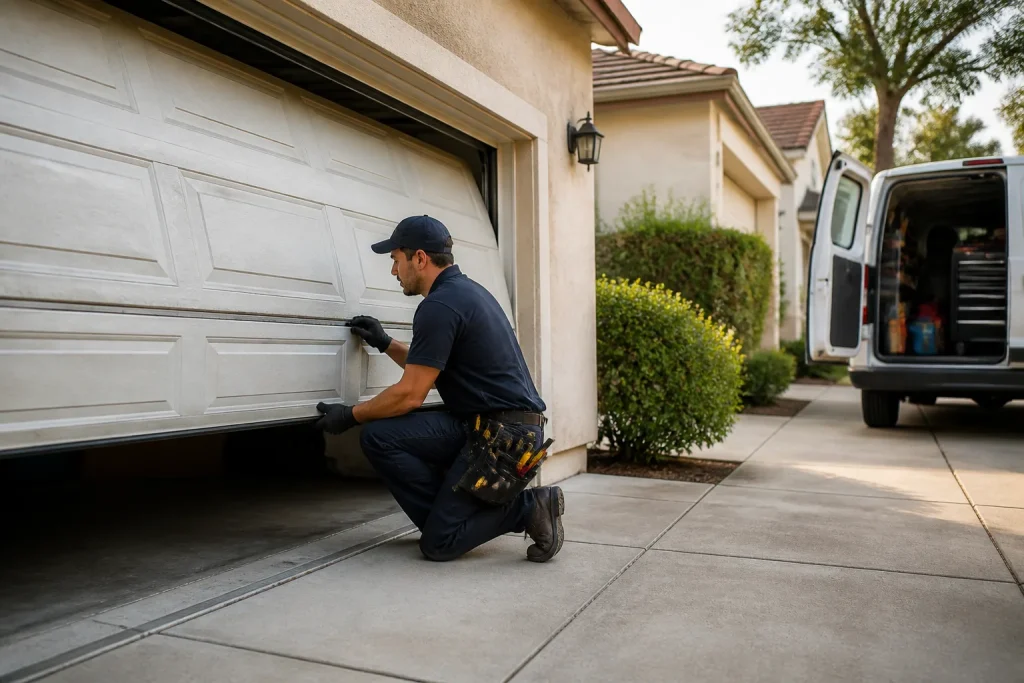
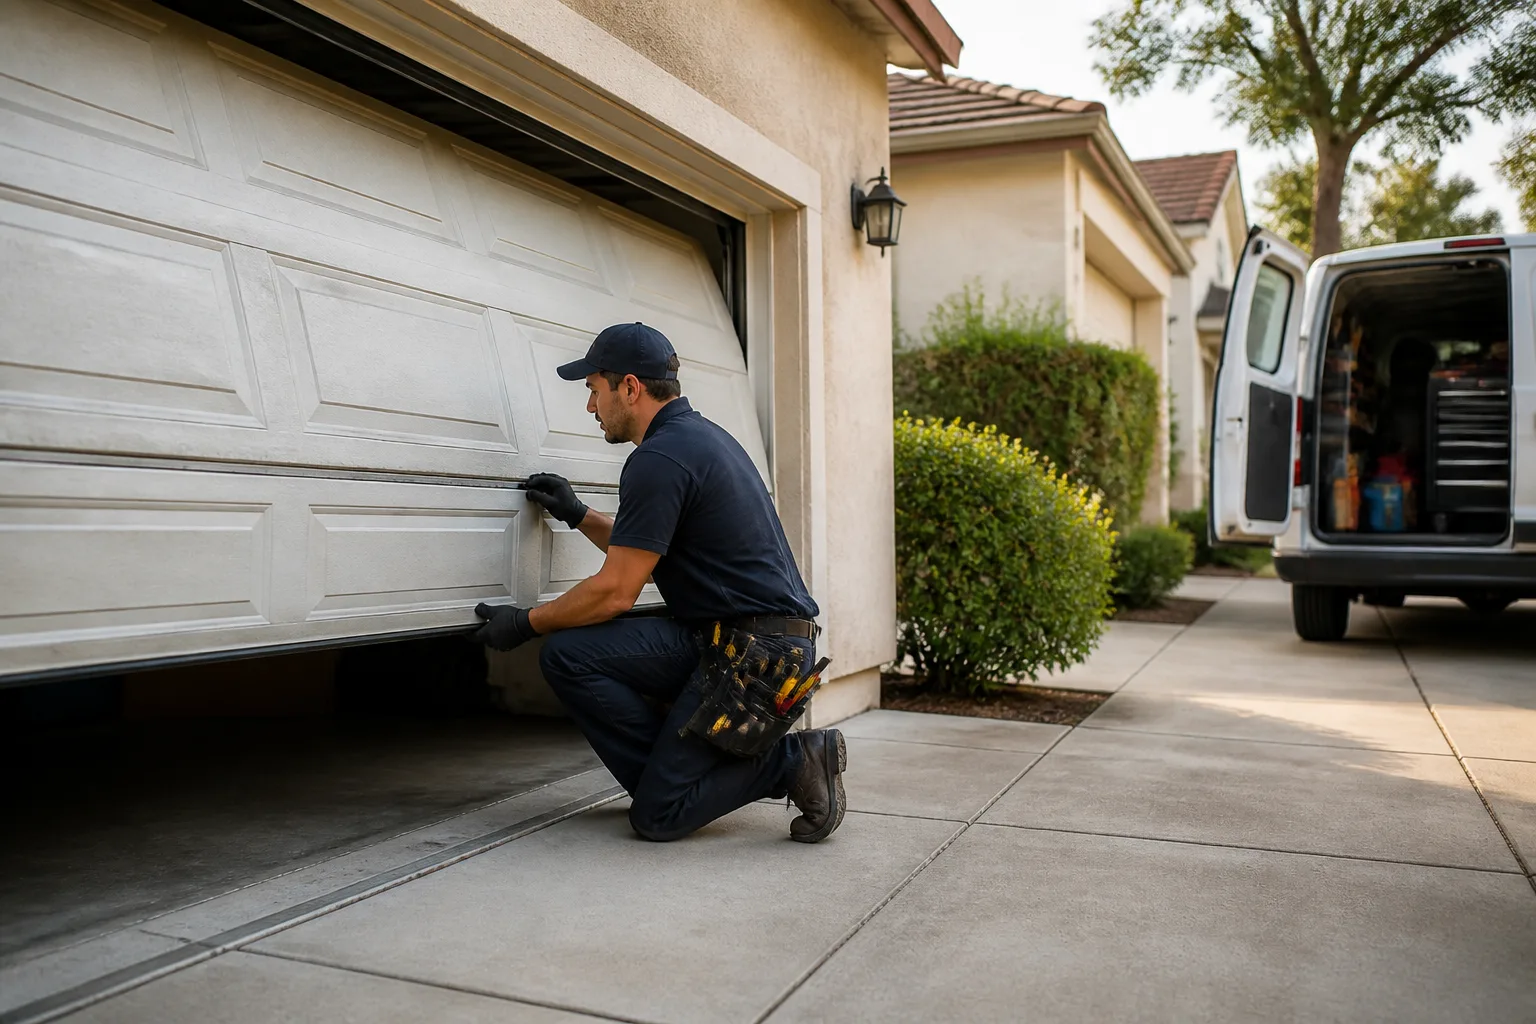
5 Mistakes to Avoid With Garage Door Installation
A garage door that’s installed a quarter-inch out of level doesn’t fail immediately — it fails 18 months later when the uneven cable tension has worn one roller track into a groove and the door starts binding. The five mistakes that generate our callback calls all happen in the details that time-lapse videos cut past: proper spring tensioning, level verification, and opener load matching. If you’d rather not risk a $2,000 door on a DIY weekend, our team installs doors across Sacramento — call (888) 430-4880 for a free estimate.
We’ve been called out to homes in Natomas and Elk Grove where the homeowner watched a three-hour installation video, bought the door, and spent Saturday wrestling with torsion springs. By Sunday evening, the door was up but the opener was straining, or the weatherseal had a finger-wide gap, or the auto-reverse kept triggering on a perfectly clear path. These aren’t skill failures — they’re sequence and verification failures. Here’s what actually goes wrong.
Mistake 1: Tensioning Springs Before Final Assembly
The most common shortcut we see in Sacramento garages is setting spring tension while the door panels are still on the ground or partially hung. The logic seems sound: get the heavy lifting done early, then attach the panels. But a garage door’s final weight isn’t known until every panel is connected, every hinge is torqued to spec, and every roller is seated in the track.
When we install a Wayne Dalton or Amarr door, we hang the complete assembly first, check that the tracks are plumb and parallel, then tension the springs to the manufacturer’s specification for that exact door height and construction. A 16-foot wide door with insulation and glass inserts needs a different spring set than the same size in uninsulated steel. Tensioning early means either guessing at final weight or adjusting twice — and most DIYers don’t own a winding bar set rated for the torque involved.
Here’s the safety note we always include: torsion springs store enough energy to cause serious injury or death if mishandled. The winding cones can slip, bars can kick back, and the sudden release of tension will damage anything in its path. This isn’t a “be careful” warning — it’s a “this requires specific tools and training” warning. We’ve replaced springs in garages from Land Park to Folsom where the homeowner got halfway through and realized the risk was real.
Mistake 2: Reusing Old Header Hardware
That 2×12 header above your garage door has been cycling through stress for 15 years or more. Every open, every close, every wind gust that rattles the door — it all transfers through the track brackets, jamb brackets, and lag screws into the wood fibers. When you bolt a new door to those same anchor points, you’re asking fatigued wood to hold a fresh load with the same grip.
We pulled a door in East Sacramento last month where the homeowner had reused the original 3/8-inch lag screws. Two had backed out slightly, one had sheared flush with the header, and the bracket was pulling away with every cycle. The door was three months old and already binding on the left side. We ended up sistering the header, drilling fresh pilot holes, and using longer lags with proper embedment depth.
The fix is simple but rarely shown in videos: inspect the header for cracks, rot, or previous over-drilling. If the wood is questionable, reinforce or replace it. Use new hardware sized to the new door’s weight and wind load rating. A Craftsman or Raynor installation manual will specify bracket spacing and fastener grade — follow it exactly, not approximately.
Mistake 3: Skipping Travel Limit Adjustment
Every opener has two limit switches: one for how far the door travels down, one for how far it travels up. Skip this step and you get one of two failure modes, both expensive. If the down limit is set too high, the door never fully seals against the floor. Sacramento’s summer dust and winter rain get in, and the gap is an invitation for rodents. If the down limit is set too low, the door over-travels and the top section bows or buckles as the opener continues driving against a stopped door.
The up limit matters too. Set it short and the door hangs partially open, compromising security. Set it long and the opener pulls the door hard into the header bracket, stressing the top roller and eventually cracking the top panel.
We adjust limits on every garage door opener in West Covina and Sacramento with the door disconnected from the opener first, verifying smooth manual travel across the full span. Only then do we reconnect and set the electronic limits, testing three full cycles and watching for hesitation or binding at each transition point. The 30 seconds this takes prevents the callbacks we hate making and customers hate receiving.
Mistake 4: Ignoring an Unlevel Slab
Garage floors settle. They slope for drainage, they heave with clay soil expansion, they crack and shift over decades. A new door hung plumb and true to a header that’s level will meet a floor that isn’t, and no amount of track adjustment or bottom seal replacement fixes the fundamental geometry.
In the Pocket-Greenhaven area, we’ve seen slabs with a 3/4-inch drop from left to right. The homeowner kept replacing the rubber weatherseal, thinking it was worn out, when the real problem was that the door’s bottom edge was describing a diagonal line across a horizontal floor. The seal compressed fully on one end and gapped on the other.
The correct approach is checking the floor with a long level or laser before the door goes up. If the variance is under 1/2 inch, a flexible bottom seal or adjustable threshold can compensate. Beyond that, the options are concrete grinding, a custom beveled bottom rail, or in extreme cases, slab leveling. Installing the door and hoping the seal conforms is how you end up with water intrusion and a callback in the first rainy season.
Mistake 5: Not Testing Auto-Reverse Force Calibration
California building code requires garage door openers manufactured after 1993 to have auto-reverse functionality. The force setting determines how much resistance triggers the reversal — too sensitive and the door reverses on normal operation friction; too insensitive and it won’t reverse on an obstruction, creating a crushing hazard.
After installation, the force must be calibrated to the specific door weight. A heavier insulated door needs more force to move but should still reverse on contact. A lightweight non-insulated door needs less. The test is simple: place a 2×4 flat on the floor center, close the door, and verify it reverses on contact. Then test at points left and right of center, where track friction may vary.
We test this on every install in Sacramento, and we find problems more often than you’d expect. Sometimes it’s a binding roller adding friction that masks a force setting that’s too high. Sometimes it’s an opener at the edge of its rated capacity, struggling with a door that’s heavier than spec. Either way, the calibration check catches it before a kid or a pet does.
When to Call a Pro
If you’ve read this far and realized your weekend project just got more complicated, that’s the point. Garage door repair in West Covina and Sacramento isn’t about brute force — it’s about sequence, measurement, and verification. Henry and his team have installed doors across every Sacramento neighborhood from Midtown to Roseville, and the 393 neighbors who’ve left reviews aren’t rating our speed. They’re rating the fact that the door works correctly on day one and still works correctly on day five hundred.
Related services in Sacramento: Garage Door Installation in West Covina | Garage Door Opener in West Covina
The Bottom Line
The five mistakes — premature spring tensioning, reused header hardware, skipped travel limits, unlevel slab ignorance, and untested auto-reverse — share a common thread. Each looks like a time-saver during installation and becomes a time-bomb after warranty expiration. A garage door cycles 1,500 times per year on average. Small errors compound.
If you’re in Sacramento and weighing a DIY install against professional work, consider that our estimates are free and our callback rate is near zero. Vanguard Garage Door California brings nearly two decades of garage door expertise to every job, with Henry Salazar personally overseeing service quality as Owner & Service Manager. Call (888) 430-4880 for a free estimate — we’ll measure your opening, check your slab, and quote the exact door and opener your situation needs.
Key Takeaways
- Spring tension must be set after full assembly, not before — the door’s final weight determines the specification
- Old header hardware and lag screws should never carry a new door; inspect wood condition and use new fasteners
- Travel limit adjustment prevents seal gaps, over-travel damage, and premature opener failure
- Floor level should be verified before installation; unlevel slabs create permanent weatherseal problems
- Auto-reverse force calibration is a code-required safety check that must match your specific door weight
Frequently Asked Questions
A standard single-car steel door with opener typically runs $1,200–$2,800 installed, depending on insulation, window packages, and whether the opener is chain-drive or belt-drive. Double-car doors or custom Amarr or Wayne Dalton designs range higher. We provide exact quotes after measuring your opening and discussing options — call (888) 430-4880 for a free estimate.
You can, but the savings often evaporate in callbacks, damaged panels, or safety equipment you’ll need to buy. Torsion spring installation alone requires winding bars and proper training — we’ve been called to finish DIY starts in Sacramento where the homeowner got everything hung but couldn’t safely tension the springs. For most homeowners, professional installation pays for itself in warranty coverage and correct calibration.
A quality steel door with standard use should last 20–30 years. The opener typically needs replacement at 10–15 years. What shortens lifespan is poor installation: uneven tension wears springs and cables prematurely, incorrect limits strain the opener, and unlevel hanging damages rollers and tracks. We’ve seen 5-year-old doors that need replacement because of installation errors, and 25-year-old doors still running smoothly because they were hung right.
Sacramento’s hot, dry summers and occasional winter rains favor insulated steel doors with quality weathersealing. Amarr and Wayne Dalton both manufacture excellent residential lines with good thermal performance and durable finishes. For openers, we install and service Craftsman, LiftMaster, Chamberlain, Genie, and Raynor depending on your noise preferences, smart-home needs, and budget. Our recommendation always follows a conversation about how you use your garage, not a brand commission.
Written by Henry Salazar, Owner & Service Manager at Vanguard Garage Door California, serving Sacramento since 2008.
Need Garage Door Help?
Call Vanguard Garage Door California — licensed & insured, here with fast after-hours help in California.
(888) 430-4880